
Laminate flooring is a great alternative to wood flooring, and is much more affordable. Your home will look and feel great without an expensive investment.
And laminate flooring is pretty easy to install with little or no maintenance. In basements, laminate flooring can spruce and add style to a dark sometimes gloomy room. Some basements, however, are not suitable for laminate flooring.
Here are some tips below to figure out whether you can install a laminate floor and basically, if you can eliminate moisture problems, you can install laminate flooring.
- Inspect the concrete floor in your basement for sloped floors, cracks and large amounts of moisture.
- Determine the residual moisture content within your concrete floor by cutting heavy plastic sheeting into 2-foot squares. Cut enough squares so that you can place one every 15 feet apart on your basement floor. If you have linoleum tiles, you can do this test on top. However, if you have any type of carpeting or solid linoleum, it will not work.
- Place a square of plastic sheeting on the floor and secure it with duct tape, sealing all edges. If you are testing over linoleum tiles, include as many seams as possible underneath the sheeting.
- Leave the test sheets alone for three days and then check each to see if any water accumulated underneath the sheeting. If it did, your basement is not suitable for laminate flooring. You may try applying a concrete sealer and retesting.
How to Install Laminate Flooring in the Basement:
1. Put down the subfloor, vapor barrier and padding on the entire floor, now would be a good time to do so. Usually, the vapor barrier and padding are included with the purchase of the laminate flooring.
2. Now you can start installing the laminate floor. First, using the tongue and groove, connect several planks together in a long row. Find a spare piece of wood (not the laminate) and use it to help you get the laminate in place. As you are attaching each piece, it may be necessary to put the spare piece of wood along side the laminate and tap it in to place in the grooves. The more planks you get on, the more sturdy and rigid the basement flooring becomes.
3. As you start adding additional rows to the basement flooring, be sure to stagger the seams. This will give the flooring additional strength as there is no clear break line.
4. You will eventually run across areas of the wall where you’re gonna have to cut the planks to fit. Measure the space between the wall and the installed boards and cut the plank. These planks are easily cut using a table saw. Table saws are sturdy and much safer to use than a hand-held circular saw for this type of work. You might need to use a pry bar (a short version of a crow-bar, caw-caw) to get it in place so don’t worry.
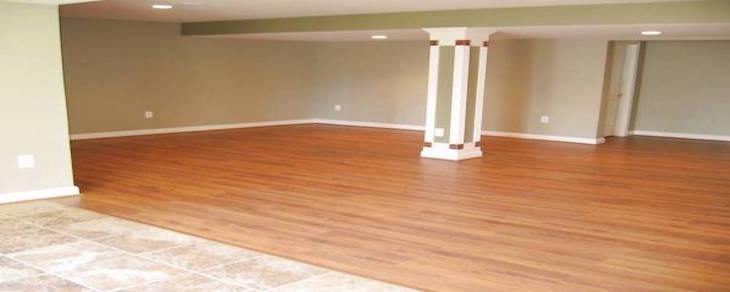
5. For irregular areas like corners or around imovable objects like poles, use a jig saw to cut the appropriate shapes so your basement flooring fits snug.
6. Keep going laying down plank after plank until your entire basement floor is covered.
Buy and save money on the tools you need!
Please note that for irregular areas like poles and corners you will need a jig saw to cut the appropriate shape so the basement floor fits snug. Please note some great deals from Amazon on Jig Saws Bosch 6.4 amp barrel grip has gotten some great reviews.


I’ve been seeking to mend stuff most of week but to no avail, I will try the following tips and inform you if effective
That’s great article! many THX – useful for me 🙂 Keep in my Favorites